
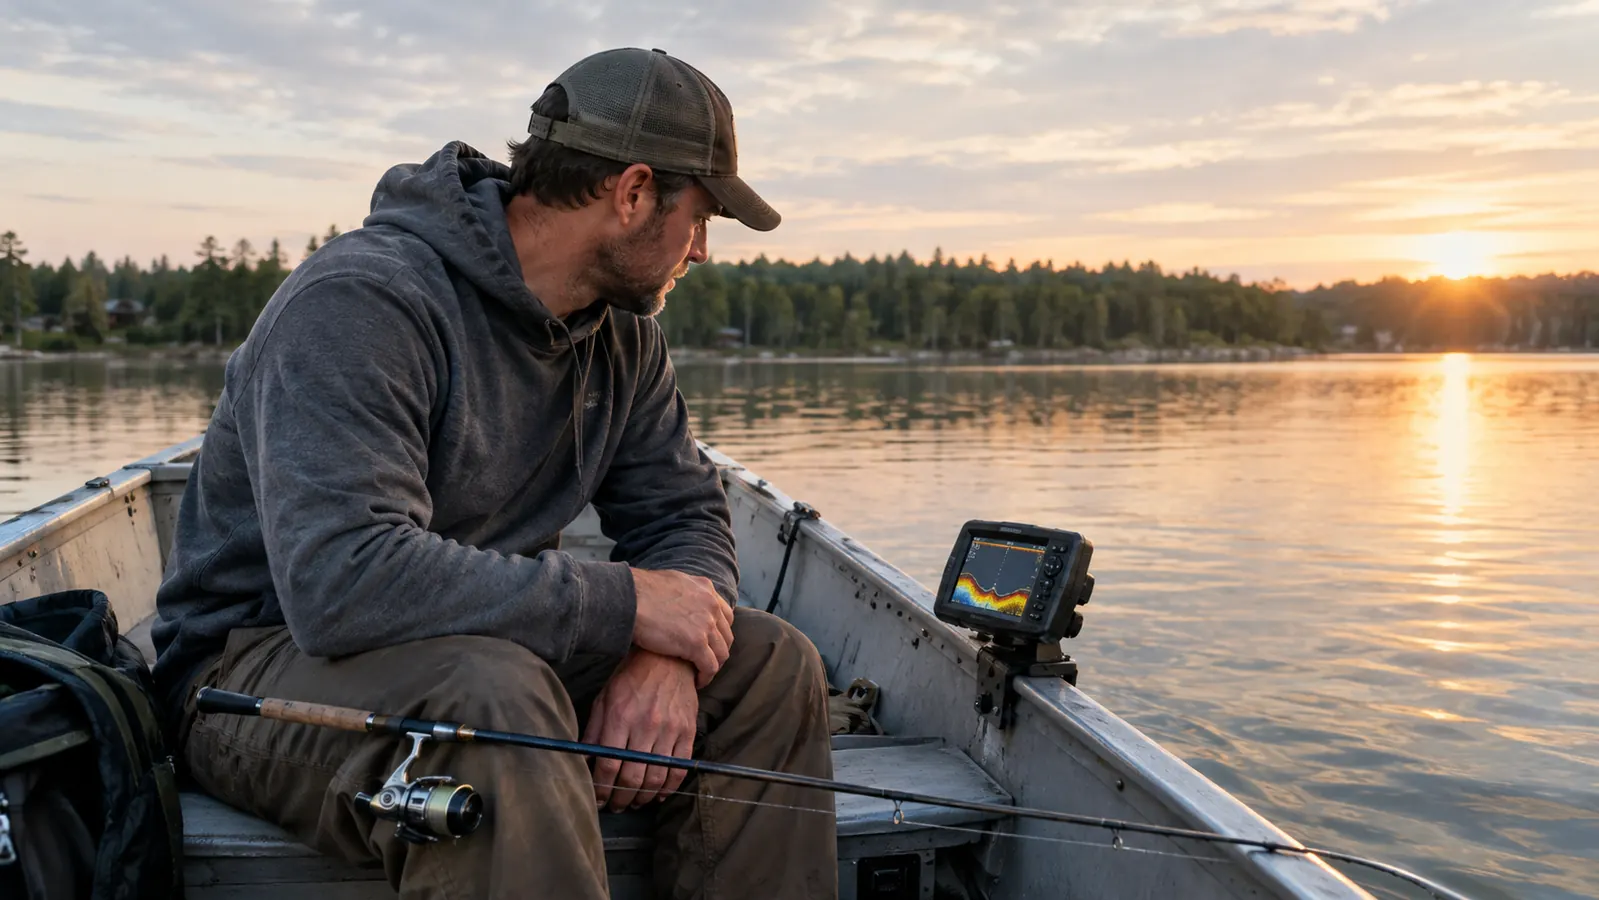
The first time I ran a fish finder, I stared at the screen for an hour and marked nothing. I knew there were walleye in the lake. I knew roughly where they liked to set up. But the Garmin Striker 4 was showing me a picture I did not know how to read, so I ran right over fish and never knew it. That was this spring, the first weekend after ice out, with the water still sitting at 44 degrees. By the end of the open-water season, I could look at the screen and tell you whether we were over gravel, sand, or mud, and whether the marks under the boat were walleye or a school of perch. None of it is hard. It is just a set of steps, and you can learn them in an afternoon on the water.
I am Curt Lindqvist, and I fish walleye on area lakes out of a 16-foot aluminum boat. I put the Garmin Striker 4 on the transom this spring and used it through the whole open-water season and the first ice. It is a 3.5-inch screen with CHIRP traditional 2D sonar, GPS, and a flasher mode for ice fishing. It does not have side imaging or ClearVu, and you do not need either one to find walleye. You need to know what the bottom is doing, what is swimming over it, and where to drop a jig. Here is the step-by-step way I read mine.
Put the Garmin Striker 4 on your boat and learn to read it this weekend
The screen is small, but it shows everything you need: bottom hardness, fish arches, and GPS waypoints that turn a good drift into a repeatable spot. Check today's price on Amazon and see why it is the fish finder I reach for every time I launch.
Amazon Check Today's Price on Amazon →Step 1: Set the gain so the bottom looks like a bottom
Most people's first mistake is leaving the gain where the factory set it. On the Garmin Striker 4, the default gain is usually too hot. The screen fills with noise, the bottom looks like a thick fuzzy band, and you cannot tell a walleye from a clump of algae. The fix is simple: turn the gain down until the bottom is a clean, solid line, and the water above it is mostly clear.
I run mine at about 60 percent on a typical summer day, then adjust as the depth changes. In 10 feet of water, I turn it down to maybe 45 percent. In 40 feet, I turn it up to 70 or a little more. The goal is the same every time: a crisp bottom line with just a little clutter showing. If you see a lot of faint specks floating in the water column, you are too hot. Turn it down until they disappear, then bring it up just a touch. The adjustment takes about ten seconds, so I do it every time the depth changes by more than a few feet.
This matters more than any other setting on the unit. A clean screen is a readable screen. A noisy screen hides fish. I spent my first two trips with the gain too high and marked nothing, while my wife Karen sat in the bow and caught walleye on a plain jig. The fish were there. I just could not see them through the clutter. The third trip I turned the gain down before we left the landing, and I marked my first arch within twenty minutes.
Step 2: Read the bottom hardness to find the right kind of structure
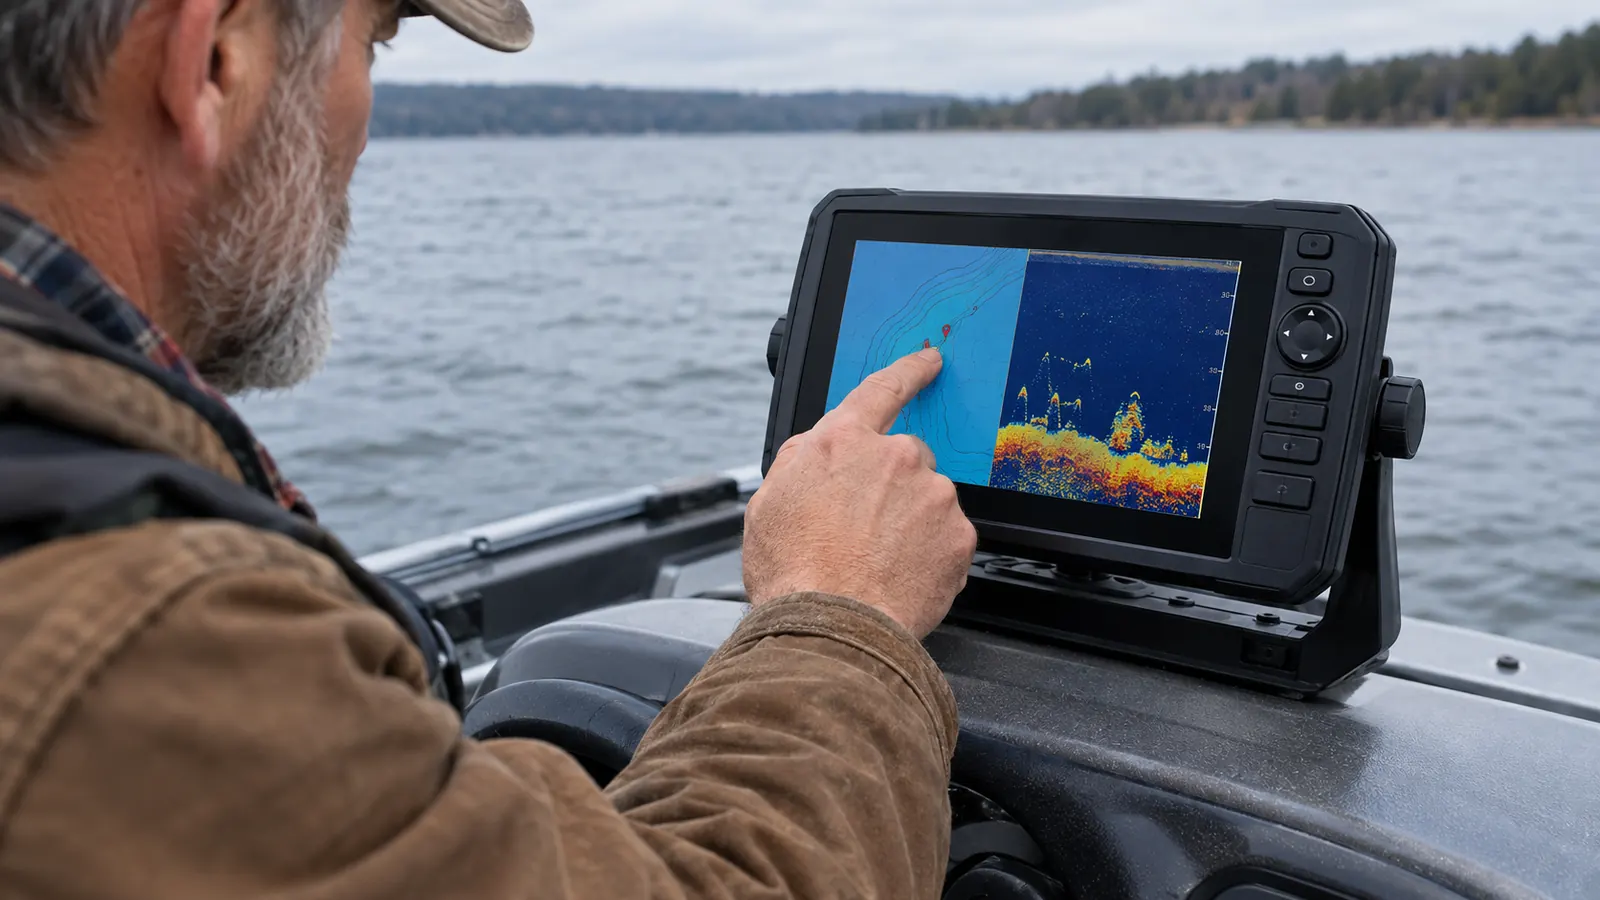
Walleye are not everywhere. They relate to specific bottom types, and the Garmin Striker 4 will tell you what is under the boat if you know what to look at. The key is the thickness and brightness of the bottom line, plus the band of color right under it.
A hard bottom, like gravel or rock, shows up as a bright, thin line with a strong second echo underneath it. You will see the bottom, then a fainter copy of the bottom a little deeper. That second echo means the sonar signal bounced off a hard surface and came back strong. A soft bottom, like mud or heavy silt, shows up as a thicker, dimmer line with no second echo. The signal sinks into the mud and does not bounce back. Sand sits in between: a clean line, but the second echo is weak or missing.
I look for the transition zones. Walleye will sit on the edge of a gravel flat where it drops into a mud basin, or on a rock pile surrounded by sand. When I see the bottom line change from bright and thin to thick and dim, I slow down and work that edge. On my home lake, the best walleye spots are almost all on a gravel-to-mud transition in 18 to 24 feet of water. One evening in August I crossed that edge three times in a row and marked arches on every pass, so I dropped the trolling motor and caught my limit before dark. The Garmin Striker 4 shows me that edge every time I cross it.
Step 3: Learn to tell a fish arch from a piece of junk
A fish on a traditional 2D sonar screen shows up as an arch. The arch forms because the sonar cone is a cone, not a pencil beam. As the boat moves over a fish, the distance to the fish shortens, then lengthens, and the screen draws that change as a curve. A walleye holding tight to the bottom will show up as a small arch sitting right on or just above the bottom line.
The size of the arch tells you something about the size of the fish, but it is not an exact measurement. A big walleye might show as a fat, tall arch. A perch school shows up as a cloud of small marks. The important thing is to look for arches that are separate from the bottom and separate from each other. A single arch hovering a foot off the bottom in 20 feet of water is very often a walleye. A cluster of tiny marks at the same depth is more likely perch or crappies. On a late September trip, I marked a lone arch at 19 feet on a gravel bar, dropped a jig straight down, and came up with a 22-inch walleye. The arch read true.
You will also see marks that are not fish. Weeds show up as thin vertical lines reaching up from the bottom. Baitfish show up as a faint cloud, usually a few feet off the bottom. A big fish under the boat will sometimes show as a solid bar instead of an arch, especially if the boat is sitting still. Do not overthink it. If you see a clean arch near the bottom, drop a jig on it. The worst that happens is you catch a perch.
Step 4: Use the weed lines and the drop-off to plan your drift
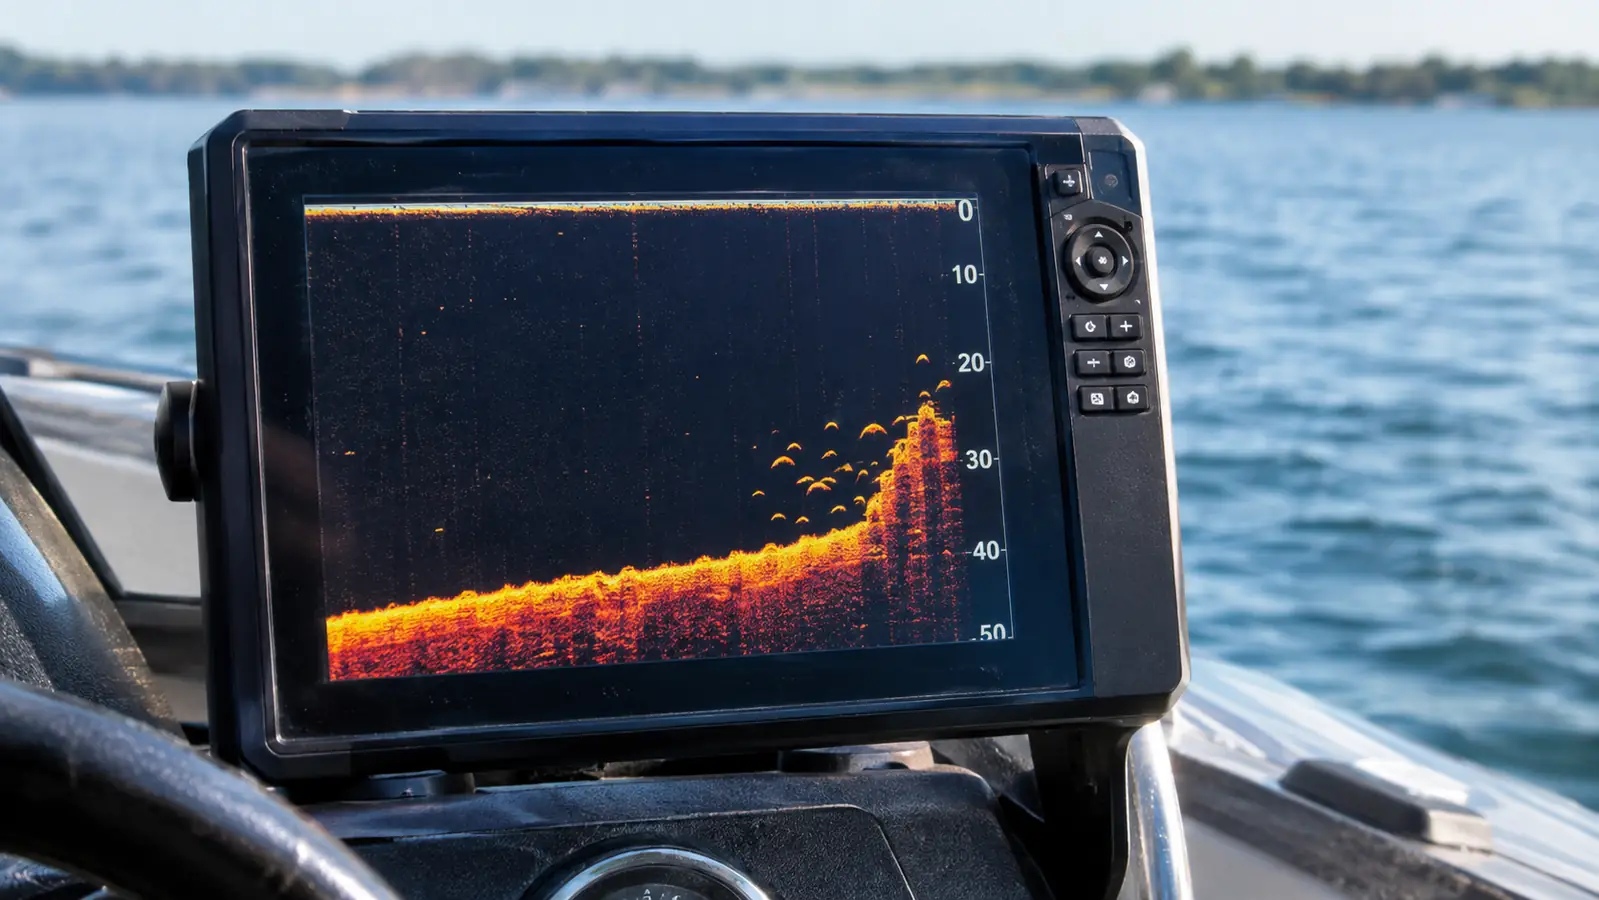
Walleye relate to edges. The edge of a weed bed, the edge of a drop-off, the edge of a current break. The Garmin Striker 4 shows you all of these if you spend a few minutes driving the area before you fish it. I make a pass along the weed line first, watching the screen for where the weeds end and the hard bottom begins. That line is where the walleye will be patrolling in the evening. On my home lake, the weed bed on the north side ends at 14 feet, and the gravel flat below it holds fish most of the summer.
The drop-off is easier to see. The bottom line will climb or fall sharply, and the screen will show a distinct step. I mark the top of the drop and the bottom of the drop with waypoints, then position the boat so my drift carries me along the break, not over the top of it. A jig drifting down the face of a drop-off is the most reliable walleye presentation I know. The classic spot is a 12-foot flat that falls to 26 feet; the fish sit right on the break, not at the top and not at the bottom.
On a calm day, I will make the same drift three or four times. The first pass tells me where the fish are. The second pass tells me what depth they are holding. The third pass is when I stop watching the screen and start watching my rod tip. The Garmin Striker 4 got me to the spot. The jig does the rest. When the wind picks up, I shorten the drift and let the wind push me along the break instead of fighting it with the trolling motor.
Step 5: Save waypoints and build a pattern over time
The GPS on the Garmin Striker 4 is the part that pays for the unit. Every time I catch a walleye, I save a waypoint. Every time I mark a school of fish that turns out to be perch, I save that too, and I note it in my head. Over a season, the waypoint list becomes a map of the lake that no paper chart can match. I started with a blank screen in May, and by October I had about two dozen waypoints saved across two lakes.
I name my waypoints with a simple code. The first letter is the lake, the second is the structure type, and the number is the depth. So a waypoint named G-R-22 is a gravel point in 22 feet of water on Gull Lake. It is not fancy, but it works. When I launch the boat on a new trip, I pull up the waypoints I saved earlier this season and start where I left off. The fish move with the season, but the structure does not, and the Garmin Striker 4 remembers the structure. A waypoint I saved in July is still useful in October, just at a different depth.
The other thing I use waypoints for is ice fishing. The Garmin Striker 4 has a flasher mode, and I use it through the ice on the same spots I marked in the summer. A waypoint I saved in July on a gravel hump in 16 feet of water is the same gravel hump I drill holes on in January. The unit does not care if it is mounted on the transom or sitting on the ice next to me. It just shows me where the fish were, and I go from there. That is the whole point of the GPS: the lake changes every week, but the spots do not.
What Else Helps
A fish finder is one tool in the boat, not the whole system. I run my Garmin Striker 4 with a few things that make it easier to use. A good mounting bracket keeps the screen where I can see it without taking my eyes off the water. I keep the transducer cable tied up so it does not drag in the current. And I always carry a spare battery pack, because a dead fish finder is just a heavy paperweight.
The other thing that helps is a simple notebook. I write down the water temperature, the wind direction, and the depth of every fish I catch. After a dozen trips, patterns show up that the screen alone will not show you. The Garmin Striker 4 tells me where the fish are right now. The notebook tells me where they will be next week. On a June evening with a south wind and 62-degree water, I know from the notebook to start on the north weed line, and the screen usually agrees within the first pass.
The Garmin Striker 4 got me to the spot. The jig does the rest.
Learn your lake with the Garmin Striker 4
A season of waypoints turns a familiar lake into a map of where the walleye live. Check today's price on Amazon and get the unit that has been on my transom all season.
Amazon Check Today's Price on Amazon →