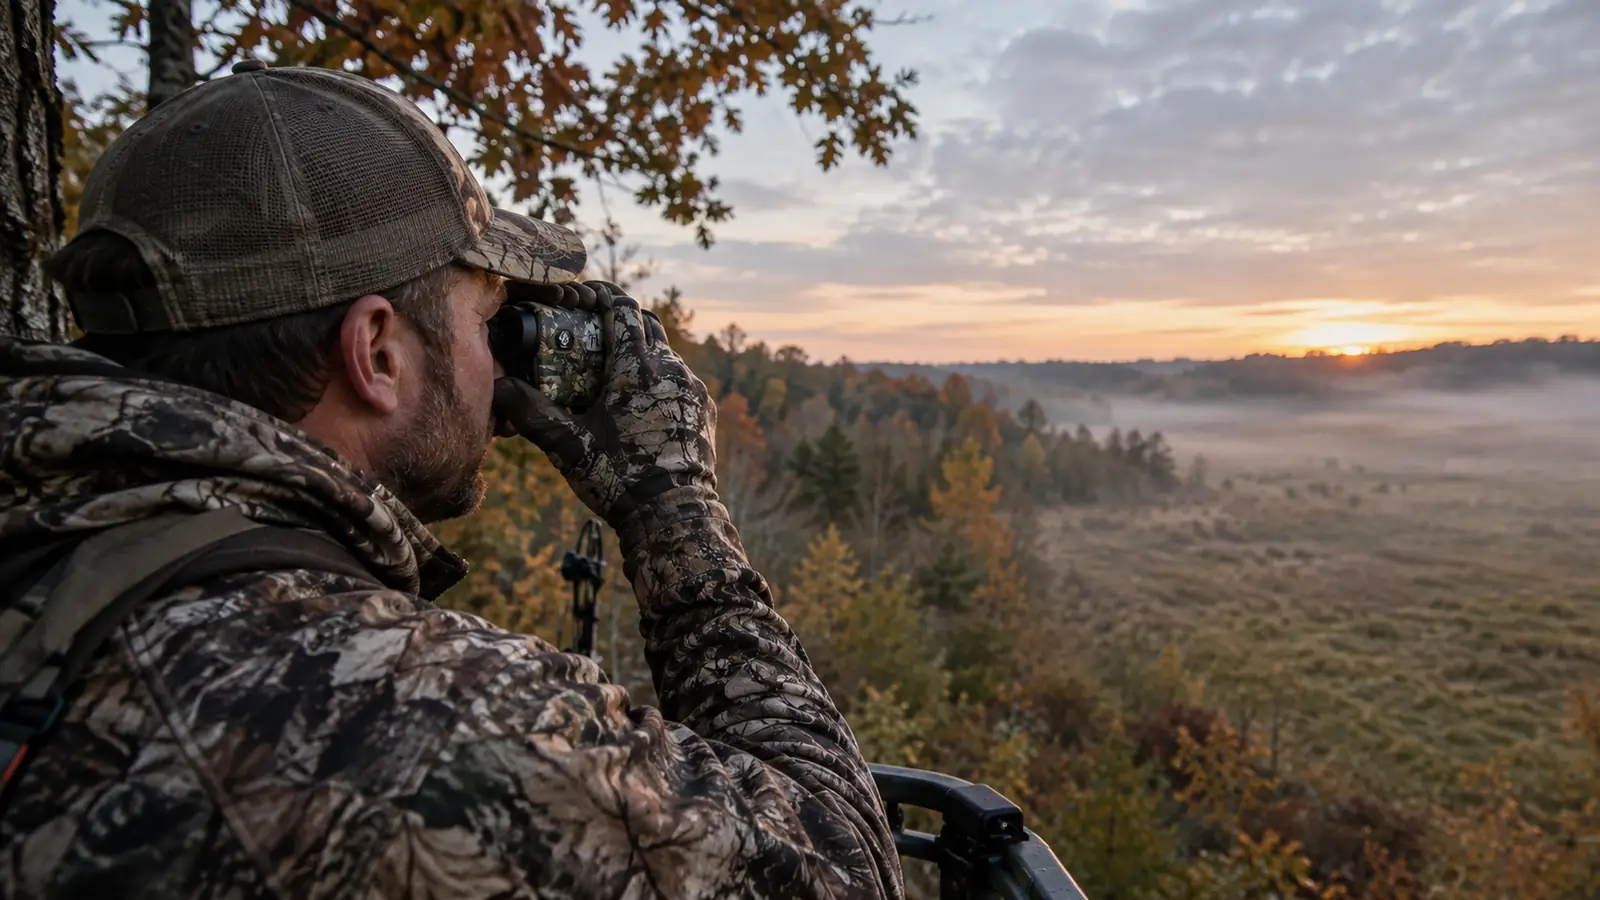
I have hunted whitetails for about 40 years, and for most of that time I judged distance the old way: I picked a tree, guessed, and hoped. Some of those guesses were good. A lot of them were off by ten yards or more, and ten yards is the difference between a clean hit and a gut check you replay all winter. Last season I finally bought a TIDEWE rangefinder, and it changed the way I set up every stand. This is the step by step system I use now, from the truck to the shot.
The whole point is to know your distances before the deer ever shows up. You do not range the deer. You range the ground around your stand, write it down, and then you are just waiting for a deer to walk into a number you already know.
Know Your Distance Before the Deer Steps Out
The TIDEWE rangefinder is the one I keep in my vest all season. It reads deer out to roughly 200 yards, which is more than I need for bow or rifle, and the angle mode matters from a ladder stand. Check today's price on Amazon and see if it fits your setup.
Amazon Check Today's Price on Amazon →Step 1: Range Your Stand Location First
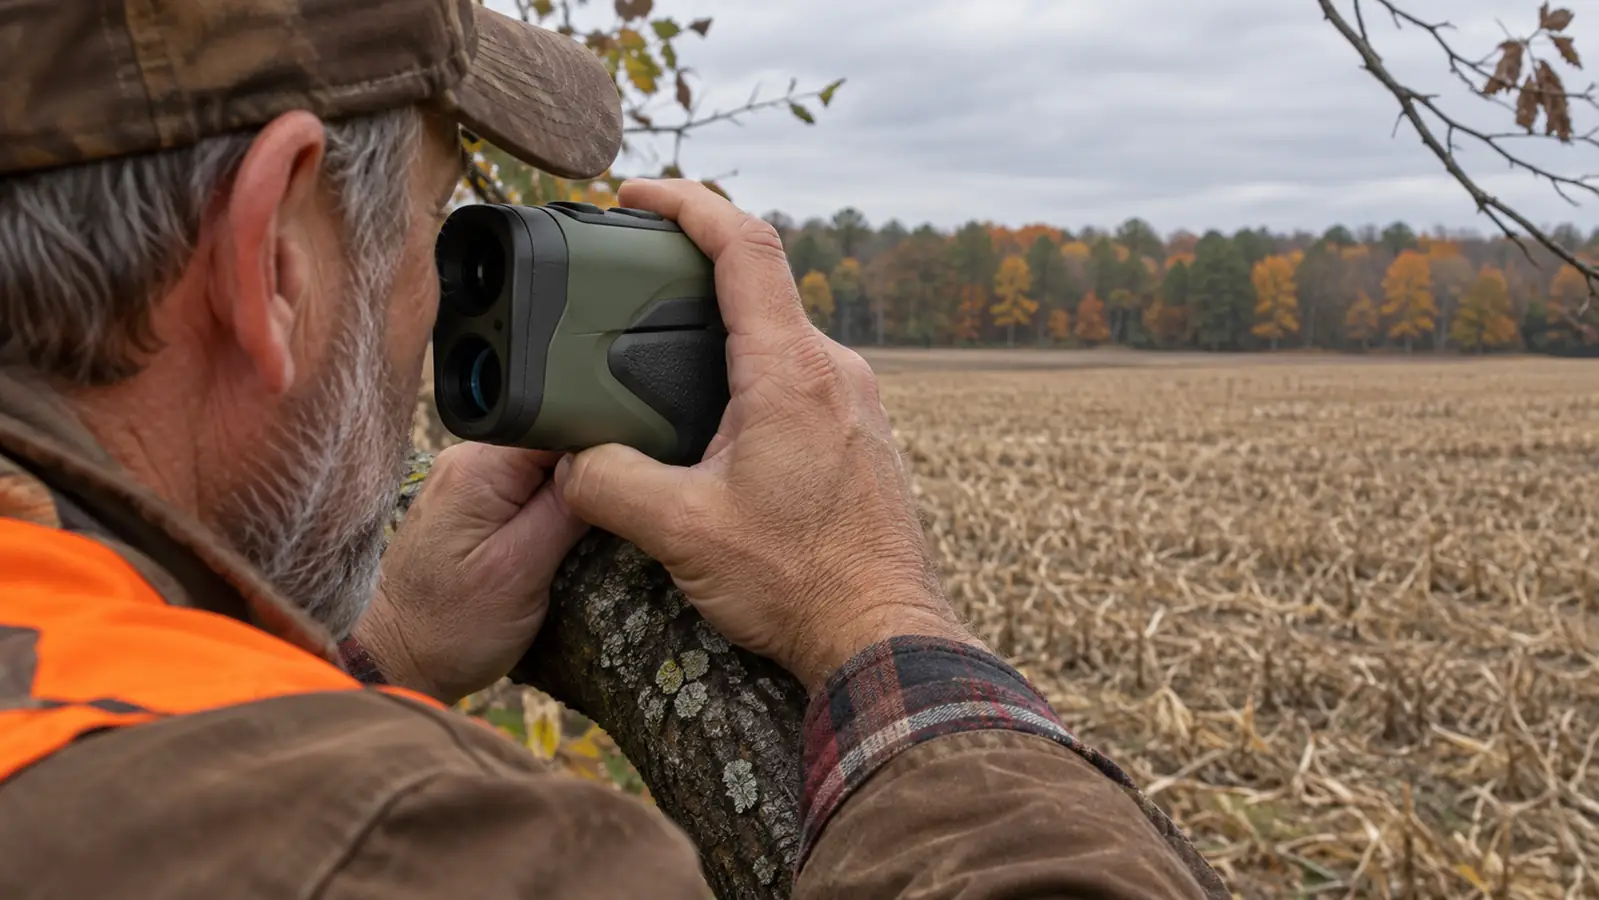
Before you climb, range the tree you plan to hunt from. Stand at the base and shoot the trunk with the rangefinder. Then walk 20 yards out and shoot it again. Then 40. You are not looking for a single number. You are checking that the rangefinder locks onto the tree and gives you a steady reading instead of jumping around.
I do this every time I hang a new stand. It takes two minutes and it tells me two things: whether the unit is working cleanly in that light, and whether I can trust the numbers I am about to build my map from. If the reading is steady on a tree trunk, it will be steady on a deer.
One thing I learned last season: range the base of the tree, not the canopy. Branches and leaves give you a messy reading. The trunk is solid and the rangefinder locks onto it every time. On the first stand I set up with the TIDEWE, I ranged a cluster of oak leaves at the edge of the food plot and got a reading that bounced between 41 and 57 yards. I pointed the same unit at the trunk two feet below those leaves and it sat on 44 yards and did not move. That was the moment I stopped trusting the easy target and started trusting the solid one. I learned this the first week of last September, when I hung a new stand on the north edge of the food plot. The light was flat and gray, and the rangefinder would not settle on a patch of dogwood. I moved my aim to the trunk and it sat still at 26 yards. I wrote that number down, climbed the stand, and built my map from there.
Step 2: Build a Yardage Map From the Stand
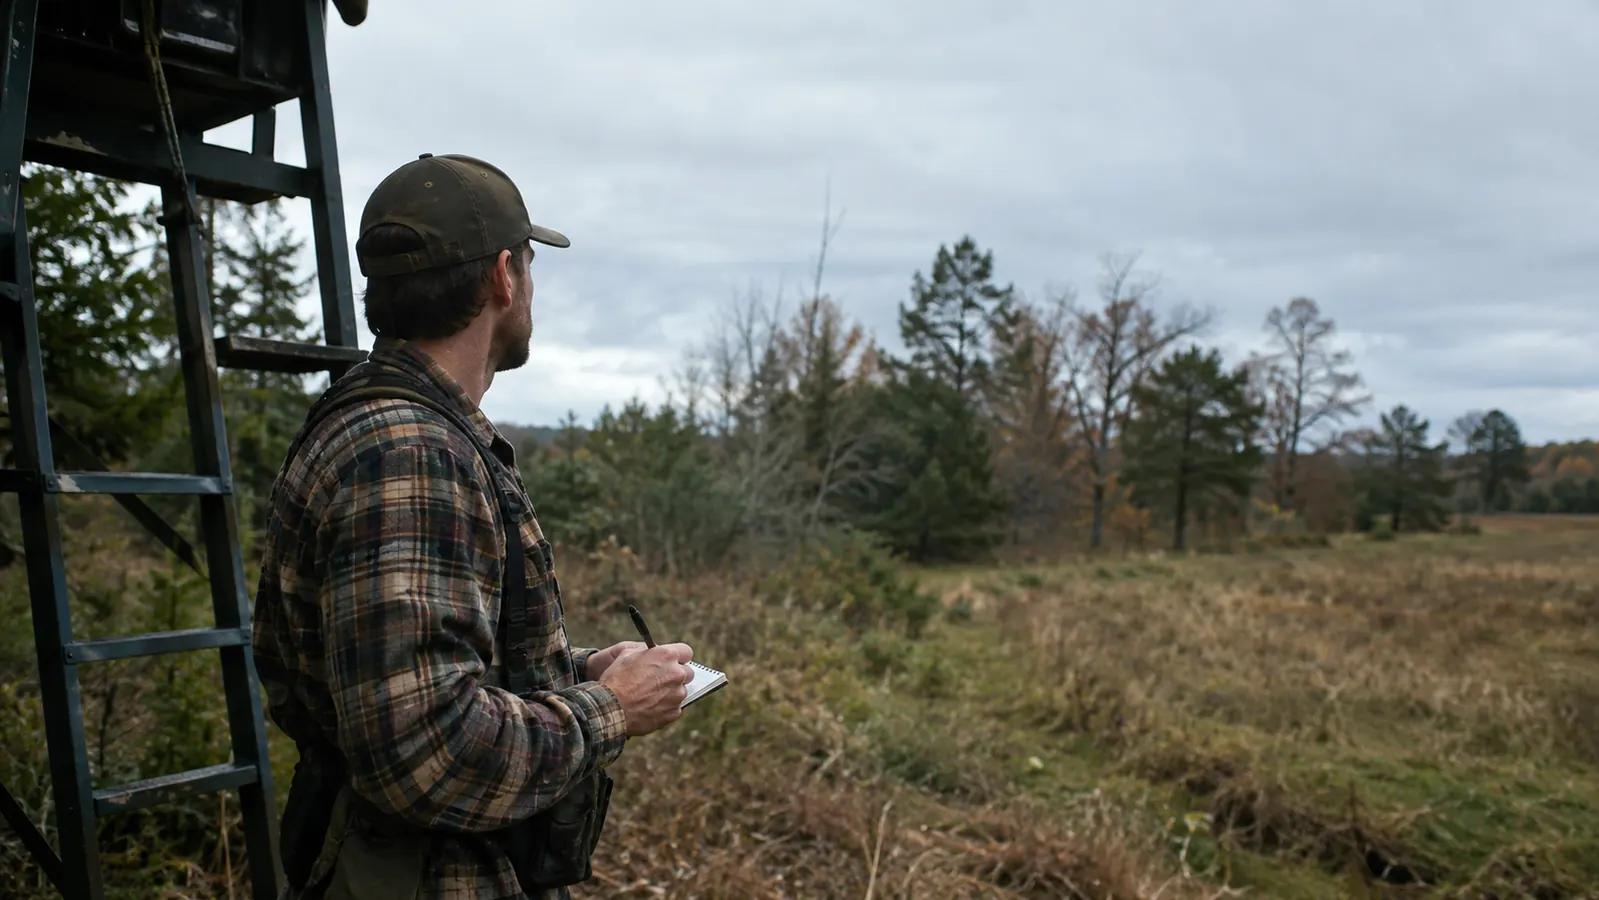
Once you are in the stand, the real work starts. Pick five or six landmarks you can see without moving much: a stump, a rock, a bush, a fence post, a distinctive tree, the corner of a food plot. Range each one and write the number down. I use a small notebook that stays in my vest, but a piece of tape on the stand rail works too.
The trick is to range things at different distances. You want a landmark at 20 yards, one at 30, one at 40, and a couple farther out for the rifle. When a deer walks in, you do not need to range the deer. You just look at which landmark it is standing next to and you already know the distance.
I range the same landmarks twice on the way in and once more after I have been sitting for an hour. Eyes play tricks on you in low light, and a number that looked right at 4 in the afternoon can look wrong at 5:30. The TIDEWE gives me the same reading every time, which is exactly what I want. Last October I set up on a scrape line that ran through a patch of young pines. I marked a broken fence post at 31 yards, a gray boulder at 38, and a lone birch at 47. A doe came in at 5:10, stood next to the boulder, and I knew the distance before I even raised the bow. That is the whole point of the map.
Step 3: Use Angle Mode From a Ladder Stand
This is the step most hunters skip, and it is the one that matters most from a ladder stand. When you are 15 or 18 feet up, the straight line distance to a deer is longer than the true horizontal distance. A deer that looks 30 yards away can be 28 yards in true horizontal distance. That does not sound like much, but it changes your pin.
The TIDEWE has an angle compensation mode that gives you the true horizontal distance instead of the line of sight distance. I turn it on before I start ranging landmarks and I leave it on all season. From my ladder stand, the difference is usually two to four yards on the shots I take. That is the difference between a good hit and a marginal one. The first time I trusted angle mode was a cold afternoon in late October. I was 16 feet up, and a buck was working a scrape line along the field edge. Line of sight read 38 yards. Angle mode read 34. I held between my 30 and 40 yard pins on his shoulder, and the arrow hit exactly where I was looking. Without that correction, I would have held high and missed.
If you hunt from a ground blind or a flat spot, angle mode matters less. But if you are in a tree, use it. It is one button on the TIDEWE and it takes two seconds to set. I checked it one morning in early November from the top of my 16 foot ladder stand. The deer was standing at the edge of the food plot, and the rangefinder showed 36 yards line of sight. With angle mode on, the same deer read 33 yards. Three yards does not sound like a lot until you are shooting a 40 yard pin at a deer that is really 33. That is how you miss low.
Step 4: Range the Deer, Then Trust the Map
When a deer finally steps out, the temptation is to range it right then. I do that too, but only as a check. The rangefinder reads deer reliably out to roughly 200 yards, so it will give you a number. The problem is that your hands are shaking, the deer is moving, and you are on a clock. That is when mistakes happen.
The better system is to range the deer once, then look at your map. If the deer is standing at the stump you marked at 32 yards, and the rangefinder says 33, you trust the map and take the shot. If the deer is between two landmarks, you split the difference. You are not doing math in your head while a buck walks across a field. I do the same thing with my shooting lane. I use the rangefinder to check the far edge before I ever see a deer. One evening in November I ranged a gap in the brush at 46 yards and decided that was past my hard limit of 40 yards. When a buck stepped into that gap the next morning, I already knew the answer was no before I raised the bow.
I also range the deer after the shot, before I climb down. That gives me a record of the actual distance and tells me whether my map was accurate. Last season my map was within two yards on every deer I ranged. That is the whole goal. The closest check came on a cold morning in late November when a buck came down the trail and stopped at the fence post I had marked at 31 yards. I ranged him anyway, got 32, and took the shot. The map and the rangefinder agreed, and that is the confidence you want when the moment is short.
Step 5: Practice With It Before the Season
A rangefinder is a tool you have to be comfortable with before the moment matters. I spent an afternoon in the yard last August ranging everything: the fence line, the bird feeder, the neighbor's shed, my truck. I ranged the same objects from different spots to see how the numbers changed. By the time the season opened, using it was automatic.
The TIDEWE buttons work fine with thin gloves, which is what I wear in early archery season. With heavy mittens in late November they are fiddly, so I practice with the same gloves I will hunt in. That sounds obvious, but it is the kind of detail you only learn by doing it wrong once. I found out on the first cold sit of the year when I tried to range a doe with my mittens on and hit the button twice, getting a reading of 12 yards instead of 42. The deer walked off before I could correct it. After that I practiced with the mittens until I could find the button by feel.
I charged the TIDEWE about four times all season. It is rechargeable, so I just plug it in when the battery gets low. I keep it in my vest from September through late season and it has never died on me in the field. I charged it once before archery season, once in early November, once around Thanksgiving, and once in late December. Four charges for a full season of use, and I range something on every sit.
What Else Helps
A rangefinder is the biggest piece of the puzzle, but it is not the only one. I mark my yardage map on a small card and tuck it into the pocket of my vest where I can see it without moving much. I also use a shooting stick or a tree limb to steady myself for longer shots. And I practice shooting from the same height as my stand, because a 15 foot shot angle changes your form more than you expect.
The other thing that helps is a food plot or a scrape line that funnels deer past your landmarks. I just find the trail the deer are already using and set my map up around it. That way the deer come to my numbers instead of me chasing theirs. On the 80 acres I hunt, the food plot is a long strip along the east edge, and the deer almost always enter from the same corner. I range that corner every time I sit there, and I have the number memorized by now. The last thing I do before a sit is take one final reading from the seat of the stand and compare it to my card. One morning in early November the numbers matched to the yard on every landmark except one, and that one was off because a sapling had been pushed over by the wind the night before. I corrected the card in two minutes. That is how the map stays honest all season, and it is worth the small routine.
The TIDEWE gave me the same reading every time, and that is exactly what I want from a rangefinder.
Set Up Your Yardage Map This Weekend
If you are still guessing distances from your stand, the TIDEWE rangefinder is a simple fix. It is rechargeable, reads deer out to roughly 200 yards, and the angle mode is made for tree stands. Check today's price on Amazon and get your map built before the season heats up.
Amazon Check Today's Price on Amazon →