
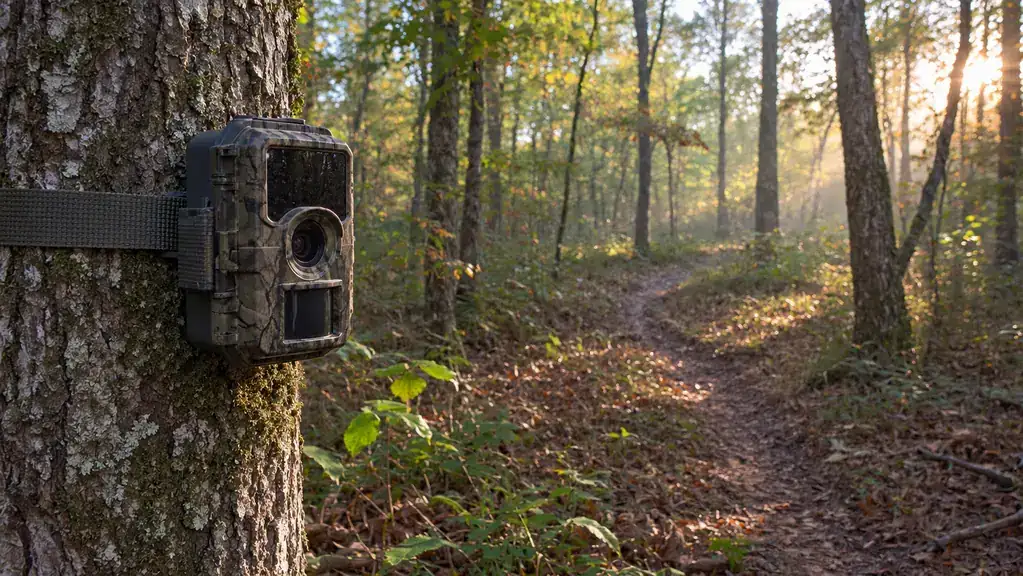
If you hunt the same 80 acres every year, you already know where the deer were last November. The problem is that they do not care. By the time opener rolls around, the bucks you saw in the food plot are working a scrape line a quarter mile away, and the trail you hunted hard last year has gone quiet. That is why I hang trail cameras in late August. I am Curt, I have hunted whitetails for about 40 years outside Brainerd, Minnesota, and I put a pair of WOSODA trail cameras up last season to figure out where the deer actually were, not where I wished they were.
This is the step-by-step method I used with the WOSODA 2-pack, from picking the tree to reading the photos without spooking anything. If you have never run a trail camera before, this will get you through your first season without the usual mistakes. If you have, the part you will care about is how I set these two cameras up and what the photos taught me about the property.
Put Two Eyes on the Property Before Opener
A pair of WOSODA trail cameras lets you cover a food plot and a scrape line at the same time, without checking cards every other day.
Amazon Check Today's Price on Amazon →Step 1: Pick the Right Kind of Spot, Not the Best-Looking Spot
The first mistake I made with trail cameras, back when I started, was hanging them where I wanted deer to be. That is backwards. You want to hang them where deer already are, which means you have to find the funnels, the inside corners of the woods, and the transition lines where bedding meets feeding.
On the 80 acres I hunt, there is one strip of oaks that pinches down to about forty yards wide between a swamp and a picked cornfield. That is a funnel. Deer use it every day, and they use it in the dark, which is exactly what a camera is for. I hung one WOSODA camera on the edge of that strip, aimed along the trail, and the other one on the back side of the food plot where the scrapes showed up last fall.
Look for places where the terrain does the work for you. A creek crossing, a gap in a fencerow, the narrow neck between two thickets. Those spots concentrate deer movement, so one camera covers more deer than three cameras scattered across open woods. If you are new to a piece of ground, start with the edges where you would walk in yourself. Deer use the same easy routes you do.
Step 2: Hang It at the Right Height, Aimed Down the Trail
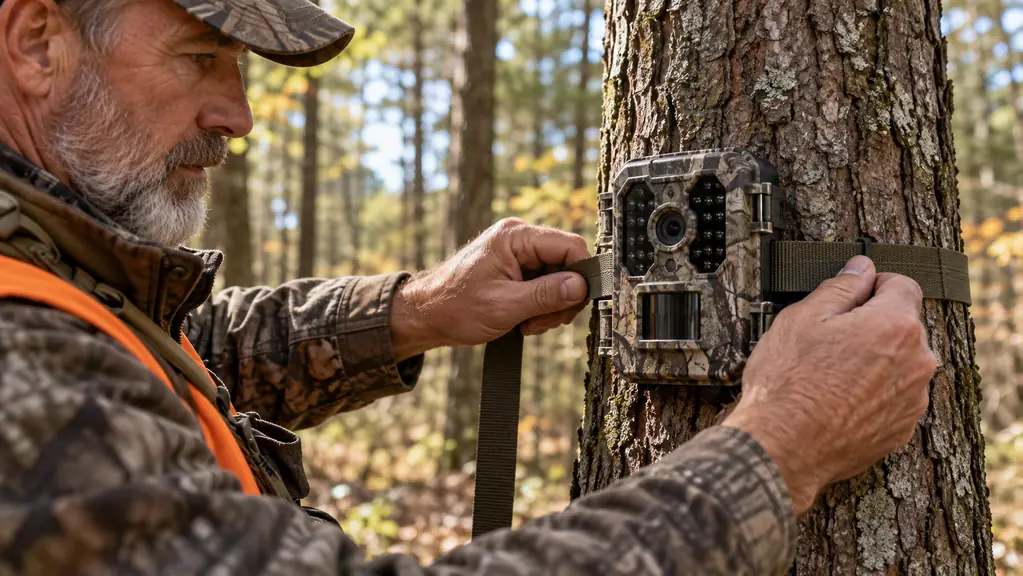
Height matters more than most people think. Too low and every doe that walks past fills the frame with its shoulder, and you get a thousand photos of one deer. Too high and the camera looks over the back of a mature buck, which triggers the sensor but gives you a picture of an empty trail with a deer-shaped blur at the bottom.
I hang mine about chest high, roughly three and a half feet off the ground, and aim it down the trail rather than straight across it. Aiming down the trail gives the sensor more time to catch the deer in the middle of the frame instead of clipping the back half. That is a real thing with this camera. The WOSODA trigger is fast enough for a walking deer, but a buck that is already moving fast can get past the sensor before the shutter fires, and you end up with the back half of a deer in the photo.
So angle the camera slightly down the trail, not perpendicular to it. Clear any tall grass or branches in front of the lens, because a swaying stem in the foreground will fill your card with empty shots every time the wind blows. And give the camera a clear view of the trail for about ten yards in each direction. That is the zone where you want the deer to be when the sensor trips.
Step 3: Set the Camera Up the Right Way the First Time
The WOSODA cameras run on AA batteries, and with lithium AAs, both of mine lasted the entire season. I did not have to go back into the woods in October to swap batteries, which is worth a lot when you are trying to keep your scent out of an area until the season opens. I set the cameras to take three photos per trigger with a thirty second delay between triggers. That keeps the card from filling up with a single doe standing there licking a branch.
There are two settings I would change from the factory defaults. First, set the date and time stamp before you hang the camera. I have looked at too many photos with no idea whether they were from Tuesday or three weeks ago, and that makes the whole scouting job harder. Second, set the camera to record the moon phase if it has that option, because it helps you read the photos later. The night photos from the WOSODA are fine for scouting. They are grainy compared to daytime, but you can see the antler shape, the body size, and the direction the deer is heading, and that is what you need.
Set the resolution to 1080p for video if you use video, and the 48MP photo mode is fine to leave on, but understand what you are getting. 48MP is an interpolated output size, meaning the camera stretches the image beyond what the sensor really captures. The daytime photos are sharp, and the night photos are good enough to identify a deer, but do not expect magazine cover detail at night. That is not what a scouting camera is for.
Step 4: Use the Included Strap, But Add a Cable Lock
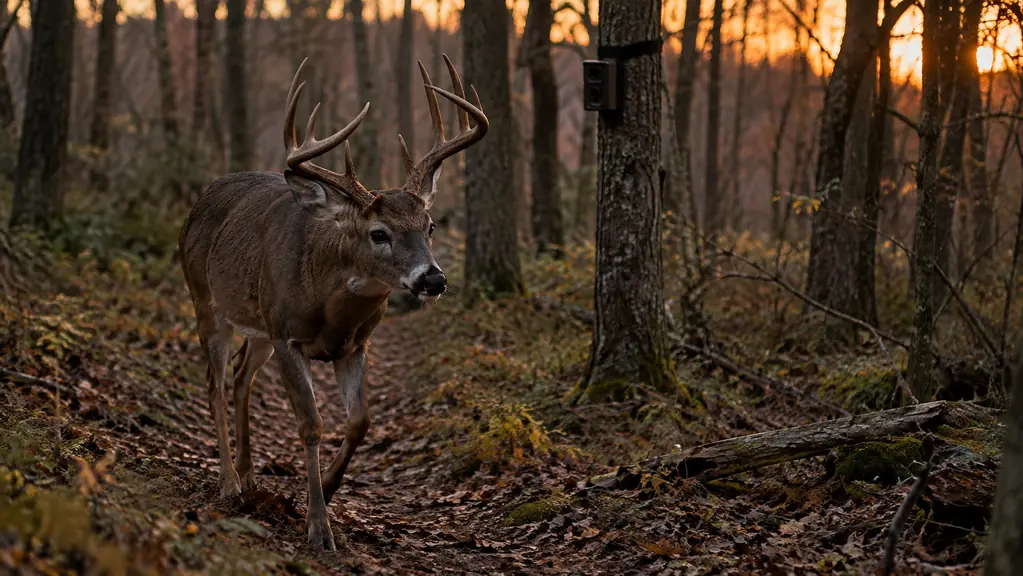
The WOSODA cameras come with a strap, and the strap works, but it is thin. After I hung the first camera, I looked at that strap and thought about a buck rubbing the tree or a curious coyote tugging at it, and I decided it was not enough. I added a cable lock to both cameras, threaded through the mounting bracket and around the tree. That cost me a few dollars and saved me from walking back in October to find a camera on the ground.
Run the cable lock so the camera cannot slide down the tree, and make sure the strap is snug enough that the camera does not shift in the wind. A camera that tilts two degrees after a week of wind is aiming at the tree trunk instead of the trail. I check the aim on the first card pull and again after any big windstorm, and I have caught a couple of cameras that needed a nudge.
One more thing about mounting: face the camera north or south if you can, rather than east or west. Facing east or west means the rising or setting sun shines straight into the lens, which washes out the daytime photos and can cause false triggers from the light hitting the sensor. North or south gives you the most usable daylight photos through the season.
Step 5: Check Cards on a Schedule, and Read the Photos Like a Report
The WOSODA cameras are not cellular, which means you check the SD cards yourself. I like that. It keeps me in the woods, it costs nothing after the purchase, and it forces me to check the cameras on a schedule instead of obsessing over a phone app. I check cards every ten days to two weeks in September, and every week once October hits. I go in at midday, when the deer are bedded, and I never walk the trail the camera is watching. I approach from the side, swap the card, and leave.
When I read the photos, I am looking for three things. One, the biggest buck on the property and whether he is using the food plot at night or in daylight. Two, the direction he is traveling. Three, whether that direction changes between September and late October, which it usually does once the rut starts. That shift is the whole point of running a camera all season. The buck you saw in September in the beans is not the buck you will see in November in the oaks, and the camera tells you where he went.
I keep a simple notebook in the truck. Every card pull gets a date, a camera number, and the two or three best photos from that pull. By the first week of November, I have a map in my head of where the mature bucks are moving, and I have not walked through their bedding area once. That is what the cameras are for. They let you scout without scouting, without putting your scent on the ground where you plan to hunt.
What Else Helps
A trail camera tells you where the deer are, but it does not tell you how far away they are. Last season I added a TIDEWE rangefinder to the gear I carry to the ladder stand, and it changed how I set up. From the stand, I ranged the scrape line at 38 yards, and I ranged the corner of the food plot at 42. Those numbers let me pick the one tree that put me inside my comfortable archery range, instead of guessing and hoping. The TIDEWE reads deer reliably out to roughly 200 yards, which is plenty for my bow, and the angle compensation matters a lot when you are 18 feet up a ladder stand looking down at a trail.
The other thing that helps is a second camera, which is why the WOSODA 2-pack makes sense. One camera on the food plot and one on the scrape line gives you the before and after. You see when the deer switch from feeding to breeding, and you see the exact trail they use to make the move. A single camera gives you one snapshot. Two cameras give you the story.
The buck you saw in September in the beans is not the buck you will see in November in the oaks. The camera tells you where he went.
One note on the SD cards. Use a card you trust, and format it in the camera before you hang it. I have had cards fail in the middle of a season, and the camera just stops writing photos without telling you. A quick check of the card reader in the camera before you leave the tree saves you a trip.
Start Scouting Before the Woods Change
The WOSODA 2-pack is a simple, non-cellular way to learn your property before opener. Hang them in late August, check the cards on a schedule, and let the deer tell you where to be.
Amazon Check Today's Price on Amazon →